Posts

Showing posts from May, 2021

Fan shape purse

Image
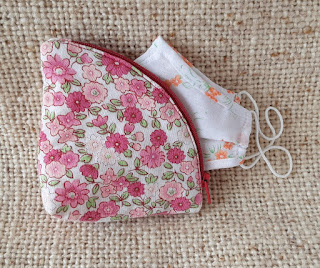
 The next purse from my favourite YT channel sewingtimes . I use it for my spare face masks. Pattern redrawn by me using graphics program: pdf download      

Easy triangle origami pouch

Image
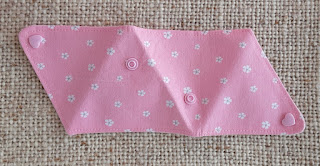
I love sewing pouches! They are very useful for me, because I have a lot of small craft stuff, such a knitting markers or tapestry needles. Fabric bags or pouches are much better than string bags (the foil tears with frequent use).  Pattern source: YT sewingtimes ,  redrawn by me using graphics program: pdf download I think it's a good project to do with kids - its possible to do without sewing machine. Just use the non fray fabric (felt for example) and sew-on snaps or buttons.

PixScan mat error - problem solved!

Image
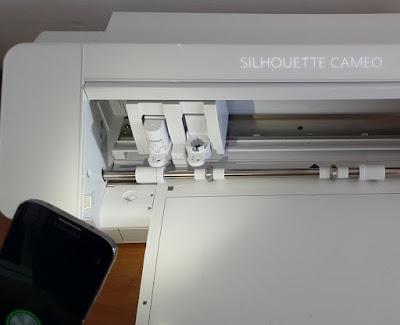
One of the most interesting features of the Cameo plotter is the PixScan mat. But my (and not only mine) first try was a failure. I've wasted a lot of time and each time got an error: failed to detect registration marks . After an Internet search I found many advises, but none of them worked. I tried to load the mat a little bit more on the right or on the left, to rotate it, to use stronger light or to work in the daylight, to set the sensor manually...  Still the same error. Finally I began to read negative comments at Amazon.com. And... there was the solution: I turned the flashlight on on my phone and was shining it right at the registration marks. I tried and it really works! The optic scanner of the device needs a good light, but not only its power is important, also a direction. So, don't place your lamp over the device, as we usually do, working at the table. The source of light should be more on the left and quite low, shining actually into the device - as on the phot

Two-sided dotted rib scarf (free pattern)

Image
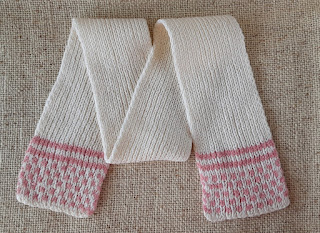
The pattern is a simple rib (k1,p1), except for the dotted section. The inspiration was a Magic Stripe scarf . Dotted rib: Cast on a multiple of 4 stitches, use circular needles. Row 1 and 2 , white yarn: *k1, p1*, repeat *-*. After row 2 do not turn work , but slide to the other end of the needle. Row 3: pink yarn: *k1, p1,   S1wyib ,  S1wyif *, repeat *-* Row. 4 : white yarn *slip white stitches as in the row 3 (knitted - S1wyib, purled - S1wyif ). Knit the pink ones as they appear (you should obtain a correct rib).  Do not turn work, but slide to the other end of the needle. Repeat these 4 rows. S1wyib= slip one with yarn in back S1wyif= slip one with yarn in front